If you ever thought about creating a one-page site and wondered how to create a menu with links to different sections on your page in WordPress, then this is the post you need to read.
We’ll talk about how to create a one-page site, how to make menu items jump to sections rather than go to pages, when is a one-page site a good option and when it is not, and how to combine a “one-page” style homepage with a multipage website in the same menu.
Ready?
Let’s go for it.
What is a one-page site
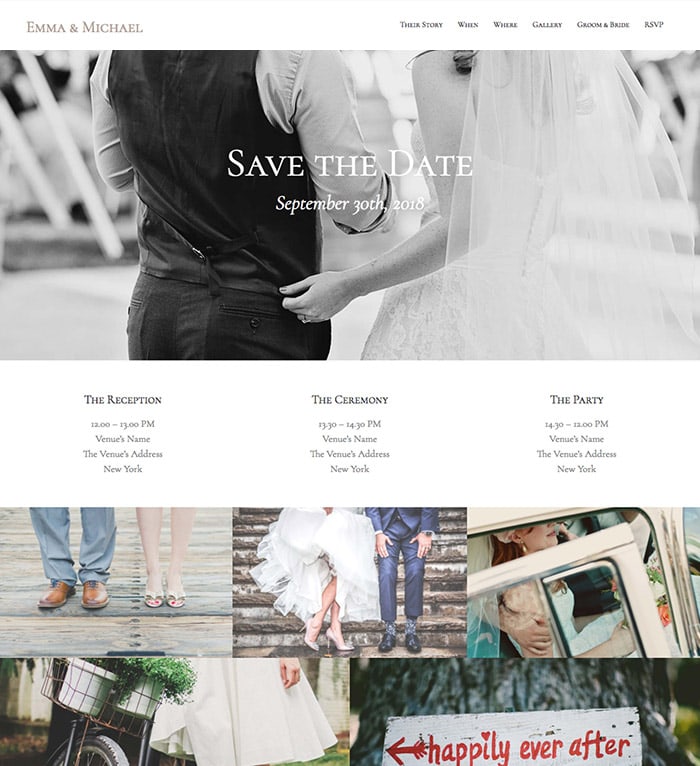
As the name suggests, a one-page site is a website made of only 1 page. Where its content, instead of spreading out through different pages, sits entirely on the homepage.
So, instead of having an About page, you’d have an About section on the homepage. And instead of having a Contact page you’d have a Contact section at the end of that same page.

Now, it’s common for one-page sites to have a menu that lets visitors navigate through the different sections of the page. And that’s the question that brings us here today:
How to create a menu in WordPress that rather than linking to pages, lets you jump to different sections in a page?
How to link menu items to sections inside a page
Follow this step by step guide to create a one-page website in WordPress.
Step 1:
Find out the sections’ IDs
In order to be able to link from your menu to sections on your page you only need one thing: having different sections on that page that have a unique ID.
“Something” to link to.
In HTML, an ID is the unique identifier of an element. And every element can have its own ID: a whole section, a div, a heading, an image, etc.
(If you are working with an Artisan Theme, here’s how to find out a module’s ID.)
If you’re writing the code for your site yourself, make sure you add those IDs to your site’s sections. For example:
<section id="about">...</section>
<section id="services">...</section>
<section id="contact">...</section>
But what if you’re not writing the code of your website?
Most likely, you’re not coding your site from scratch but using a theme or a page builder plugin to build it. So do you have to worry about IDs? Not at all!
Most themes and page builder plugins will take care of adding those IDs automatically. That means you only need to grab the proper ones for your menu and that’s it.
If you are working with an Artisan theme, here’s how to find out a module’s ID.
If you’re working with a different theme or a page builder plugin, you’ll have to inspect your site’s code to find out each section’s ID.
But fear not, it’s quite easy to do!
We’ll use the browser’s inspector tool. Open your site in your browser, right-click on a section and choose “Inspect“.
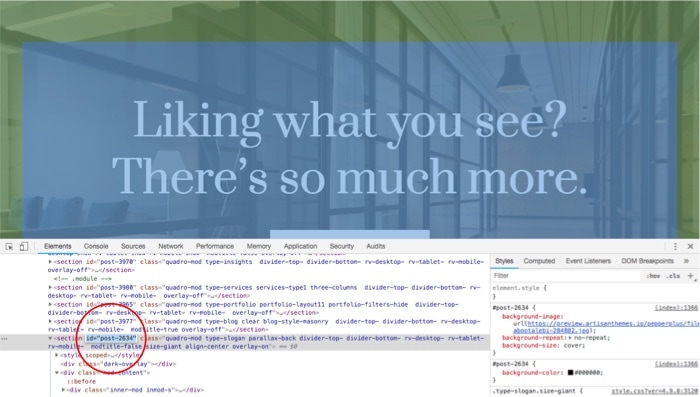
Now take a look at the HTML code on the left and look for the div that’s wrapping the whole section together. You’ll probably see it has a unique ID (id=”something”).
If it doesn’t, look for the next element inside it. Soon enough you’ll find an ID in there that you can use.
Then do the same with the next section. And once you figured out all your sections’ IDs, save them on the side. We’ll use them next.
Adding a section ID in Gutenberg
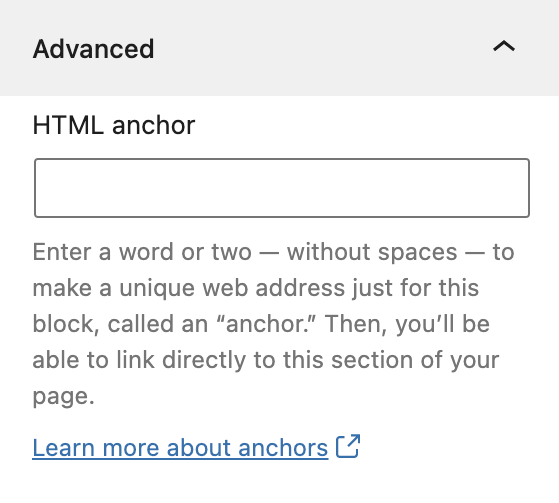
If you’re building your page with Gutenberg blocks, then you can add your own IDs to each section. Simply click on the block you’re going to use as a section and open the Advanced box on the right.
Then add the ID manually in the HTML anchor field, with no spaces. And make sure these are unique (you can’t use the same ID twice in the same page).
Step 2:
Create the menu
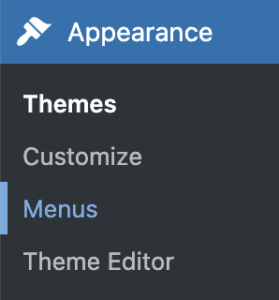
Go to Appearance » Menus in your WordPress dashboard, and create a new menu for your site.
Choose the proper location for the menu so it appears on your site’s header.
Step 3:
Add links to sections
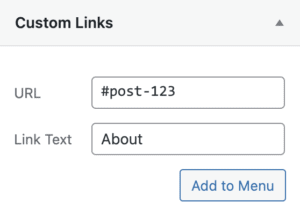
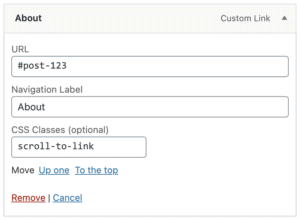
Regularly, you’d use pages to build your menu. In this case, we’ll use the Custom Links option, where the URL is the ID of the section you want to link, with a “#” as a prefix.
For example – If you want to have a menu item that’s called “About” and it needs to point to a section whose ID is post-123, your URL will look like this: #post-123.
Step 4 (Optional):
How to add a smooth scrolling effect
Right now your menu is set, and if you click on a menu item it should jump right to the proper section on that page.
But what if rather than having it “jump” to the section you wanted it to elegantly scroll to it?

You can easily do that with your Artisan theme. Here’s how:
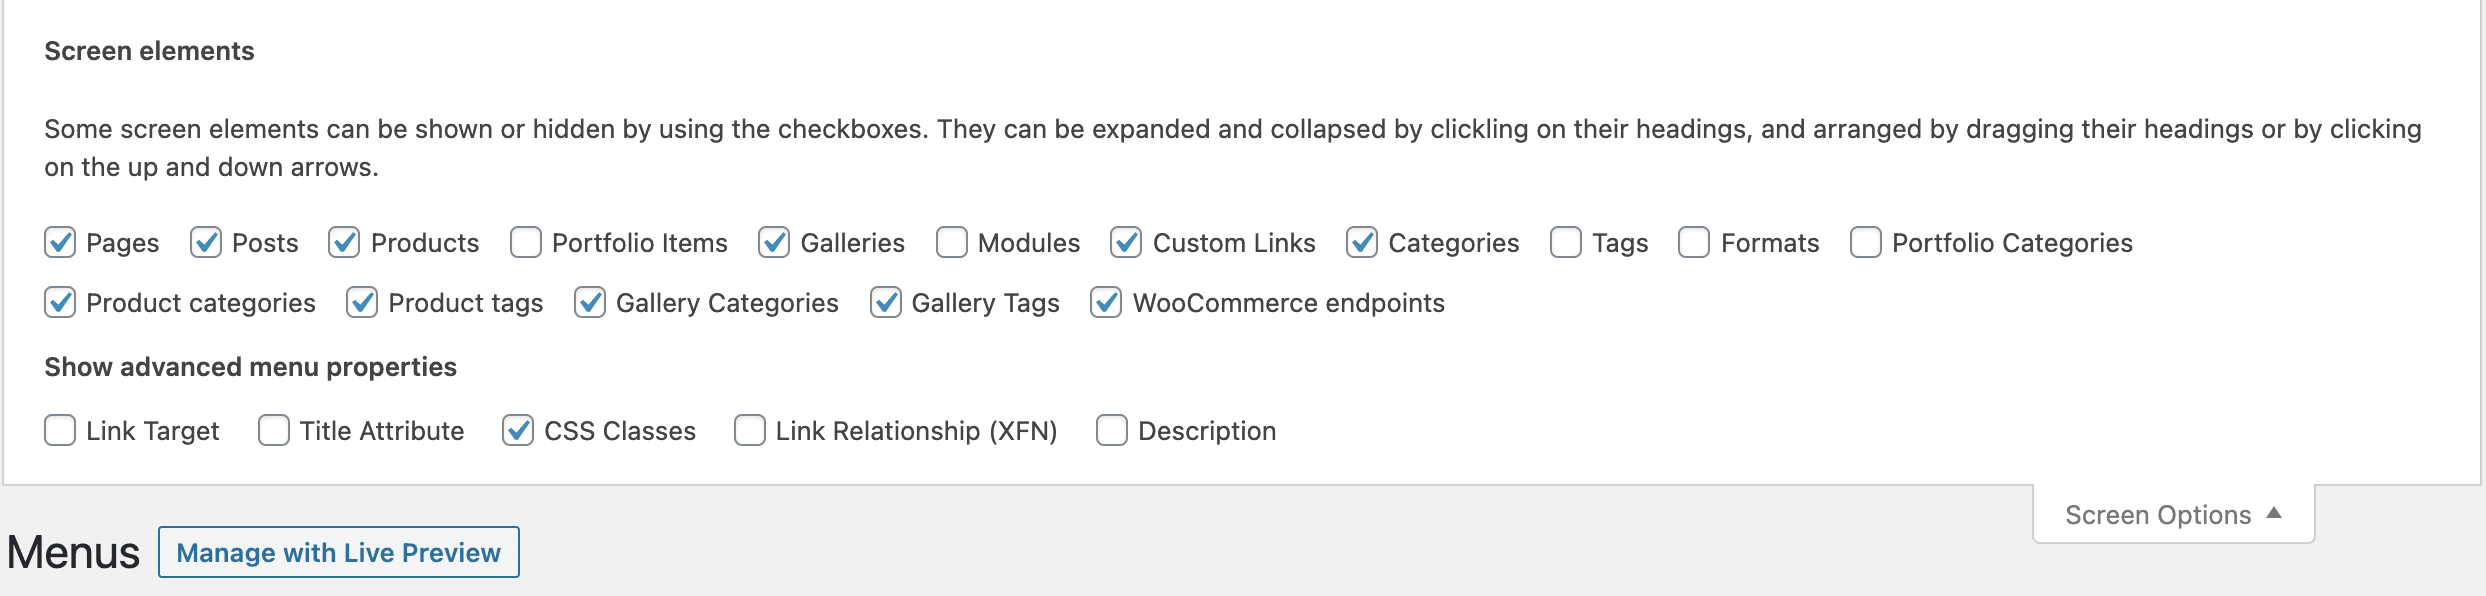
Go back to the Menus panel and edit the menu you’ve created. Look for the CSS class field on each of the menu items, and enter the class scroll-to-link.
(If you don’t see that input field you may have to open the top drawer at the top of the screen and enable it.)
And that’s about it. Look who’s scrolling now 🙂
When it’s a one-page site not recommended
Personally, I like one-page sites when they have a reason to be.
The motivation to build a one-page site can’t be “I want to squeeze it all in the homepage because I don’t think users will visit other pages”. And neither “I think it’s so cool that you click on the menu and it magically slides you into a different part of the page”.
If you were having that kind of thoughts, toss it away and go with a normal website.
A one-page site won’t make your site cooler, and it won’t necessarily make it more inviting or tempting to consume (I actually believe the opposite is true in most cases).
But if you only need one simple page, with relatively little content where it doesn’t make sense to have a complete page for each of the sections, AND the sections can flow one into the other in a harmonious way (both design and content wise), THEN a one-page solution could be great.
In other words, when there’s really not much more to look at than what can get laid out on one single page, and visitors will benefit from that.
So, the big NOs for a one-page site are…
- If a “simple page” is not really what you need right now (kind of obvious, but still).
- If you have a huge website with lots of content, posts, pages, etc.
- If it’s not the way your visitors would expect your website to function.
Let’s now talk about one last thing…
Want to make sure your site is ready and optimized for your visitors? Download the ultimate WordPress website checklist now for free.
How to combine a one-page homepage with a multipage site
Hey, I may -or may not- have been there. You intended to have a one-page site, but now you want to have it all — a one-page homepage inside a multipage website, am I right?
But when you add the link to the About section on your homepage, it doesn’t quite work if you’re on a different page, does it?
This happens because the “jump to section” anchor will only work as long as the targeted section exists on that same page where you are the moment you click on it. If you are on a different page, then you first need to let the browser know which page to go, and then which section to jump to.
So how you do it?
Well, there’s a fair workaround for when you want to create a hybrid site that’s half one-page but also has other pages or posts outside that page. And, if you insist in complicating your existence :), I can guide you through it (just kidding, it’s actually pretty easy to do!).
The best method would be to have 2 different menus, one to show up in that “one-page page” (with the modules or sections IDs), and another one for the rest of your pages/posts (with the URLs + the IDs).
We’re gonna do that in one big menu that includes the links built as you need them for your homepage, and also a copy of them built with the full site’s URL, for the other pages. And then we’ll show or hide the links depending on which page your visitors are.
So…
Step 1:
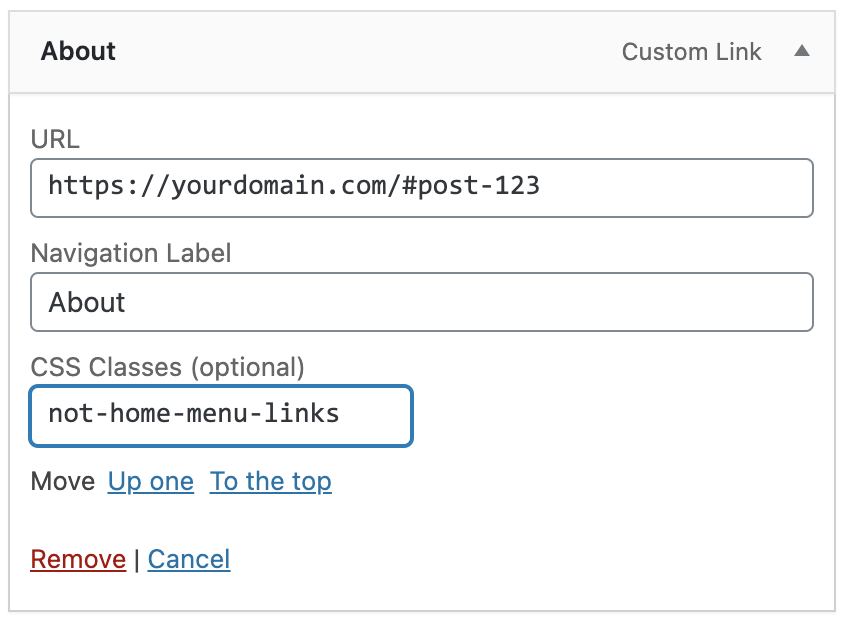
Create ONE menu with ALL the custom links you’ll need together: those that will only appear on your homepage (e.g.: “About” with the section ID as the URL), and those that will only appear on the other pages (e.g.: “About” with the complete URL to the page + section ID). So you’ll have two “About” items, two “Contact” items, etc.
Step 2:
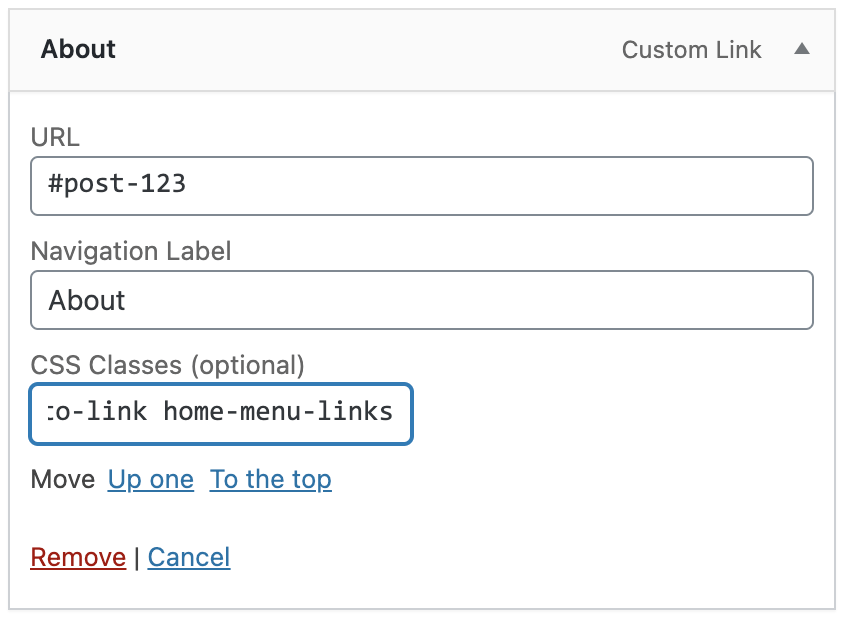
We’ll use the CSS Classes input, the same you used for the “scroll-to-link” class (make sure to separate the classes with a single space if you used the scroll-to-link one before). The classes will help us hide/show the items in different pages.
On those items that you only want to show in the homepage (those that use the sections IDs without the URL), add this class:
home-menu-links
And on those that will only appear on the other pages, add this class:
not-home-menu-links
Step 3:
Once you’ve done this, we’ll move on to hiding or showing the right items for each case.
We’ll use this CSS snippet to do that:
.home-menu-links,
.not-home-menu-links {
display: none !important;
}
.home .home-menu-links,
body:not(.home) .not-home-menu-links {
display: inline-block !important;
}
Add this code into your theme’s Custom CSS (in Theme Options » Design, for your Artisan Theme) or in the Customizer (Appearance » Customize), or in your child theme’s CSS file.
And that’s it!
Hi Mal
You always great posts. I wonder if you have a source to design a One-page site for me, please.
Be healthy.
Jimmy