Installing your theme
On this article we'll follow the required instructions to get your theme installed and running.
Before we begin the installation of the theme you have to be running an updated version of WordPress. If this is your first time using WordPress and need help with that you may want to have a look at the Codex page for Installing WordPress or this video from our Knowledge Base. Don’t worry, it should be really easy.
———
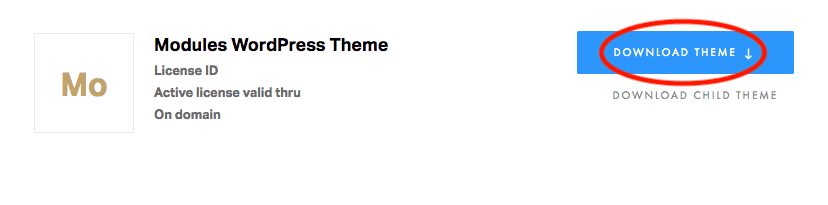
Download your purchased theme from your Artisan Themes dashboard, and follow the steps explained below. The file you’ll download it’s a zip file.
There are two steps required in order to install a WP theme: uploading and activating. For uploading it, you have two options:
1. Upload through WordPress: From the WP menu go to Appearance » Themes » Add New » Upload Theme. Then, choose the [theme-name].zip file you downloaded from our site, or the Purchase Receipt email.
2. Upload through FTP: Unzip the [theme-name].zip file and upload only the theme folder using your preferred FTP client into the wp-content/themes at your domain.
Once you have uploaded the theme to your server click “Activate” it.
Note: When you update your theme from the admin Dashboard, any custom modification you may have done to the theme’s files (if you did any) will get replaced for the new updated files. Please keep a copy of those modified files or, much better, make your own customizations in a child theme. This does not apply to the Theme Options and WordPress settings. If you didn’t touch the theme’s files you don’t need to worry about it.